Cloudflare Integration
IntelliFend seamlessly integrates with the Cloudflare CDN through the Interceptor integration mode, leveraging the Cloudflare Worker function. We use the Cloudflare worker to intercept the request log and determine whether to monitor, block, or challenge traffic with Captcha.
The following procedure describes the high-level steps for setting up Cloudflare Integration:
- Create an Account API token in Cloudflare.
- Configure integration in IntelliFend Back Office.
Step 1: Create an Account API token in Cloudflare
To allow IntelliFend to deploy the worker.js script in Cloudflare Workers, you must create an Account API token in Cloudflare. Follow these steps to generate the required API token.
- Log in to the Cloudflare dashboard, select the account you want to use, then go to Manage Account > Account API Tokens.
- Click the Create Token button.
- Specify a descriptive token name.
- In Permission policies, keep Custom selected and create the permissions below. Cloudflare's editor uses Edit for full access; the review screen may display the same access level as Write.
| Policy | Resource selector | Permission section | Name | Access |
|---|---|---|---|---|
| 1 | Entire Account | Developer Platform | Workers Scripts | Edit |
| 2 | All Domains | Developer Platform | Workers Routes | Edit |
| 2 | All Domains | DNS & Zones | DNS | Read |
| 2 | All Domains | DNS & Zones | Zone | Read |
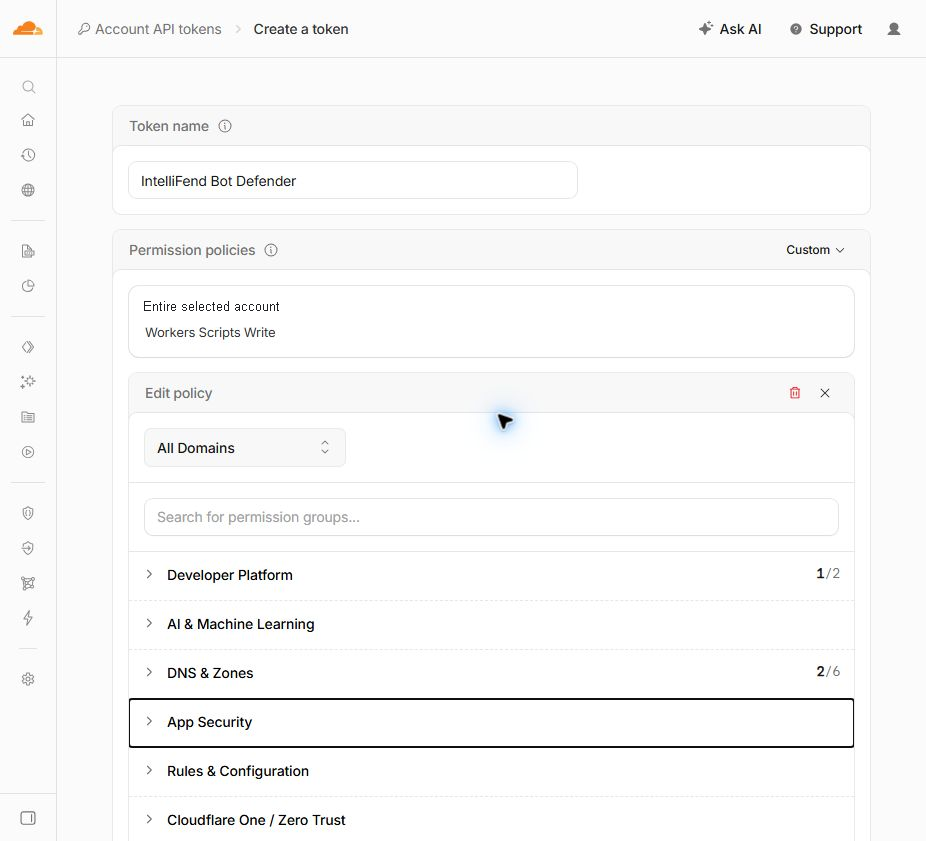
Use All Domains if IntelliFend should manage every zone in the selected account, or limit the second policy to only the domains that should use IntelliFend. Account-owned tokens are automatically scoped to the selected account.
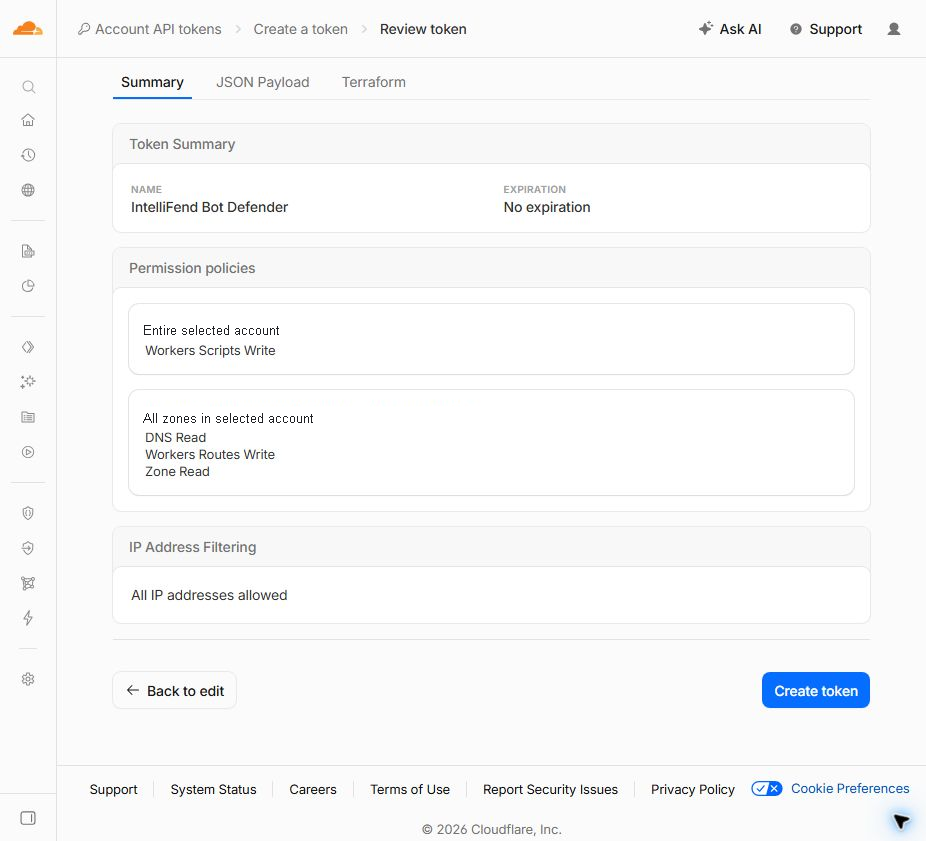
- Click the Continue to summary button.
- Review the token summary.
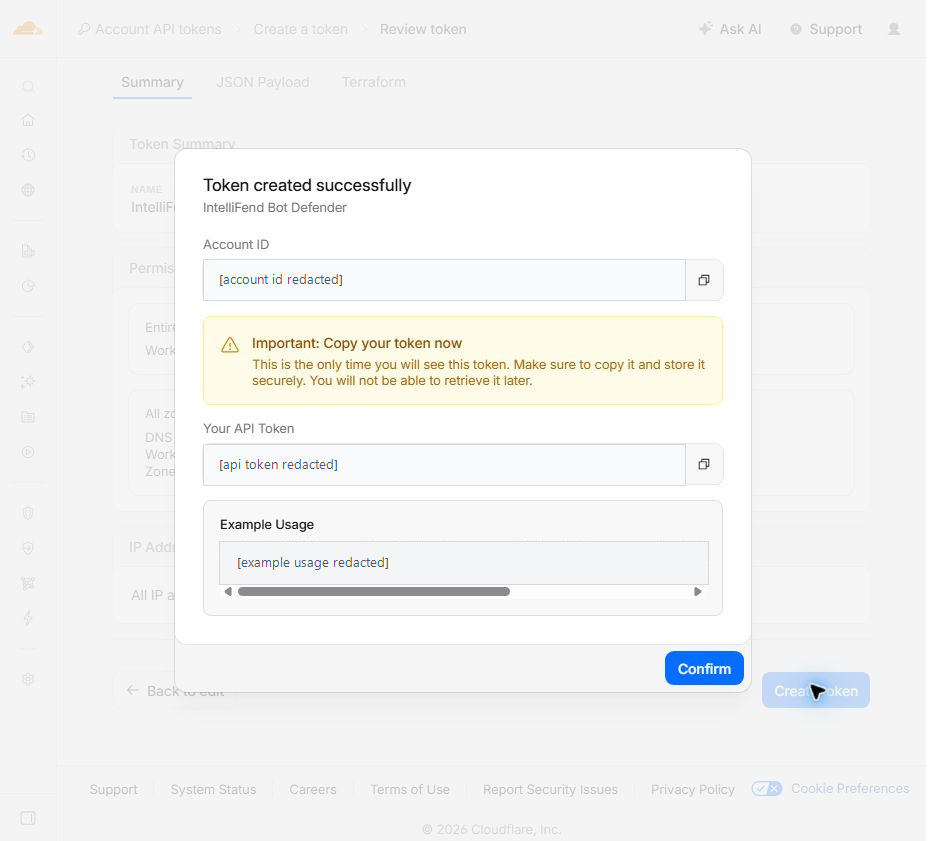
- Click the Create Token button to generate the API token.
- Copy the generated token for later configuration in the IntelliFend Back Office.
Step 2: Configure integration in IntelliFend Back Office
To create the integration between your applications and IntelliFend, follow the below steps:
- Go to the IntelliFend Back Office page, and click Integration in the left navigation pane.
- Click on the application name that you want to integrate. Please make sure that its integration mode is Interceptor.
If you do not have the desired application, you can contact us to create one for you.
- Select the Cloudflare CDN, input the Cloudflare API token you created in Step 1: Create an API token in Cloudflare, and click the Connect button.
- Provide your information in the integration form.
- API: Turn on the toggle if your application is served for API requests only. You need to provide the parameter name of the API key () to generate the visitor ID for the API request.
- Block setting: Switch the toggle on to redirect blocked visitors to your designated URL. Switch it off to keep blocked visitors on the IntelliFend default blocking page.
- Domains: Select the domains that you want its traffic to be intercepted by IntelliFend. The dropdown list shows all domains that belong to the Access Key.
- Review the information and click the Save button
To prevent your health check traffic from being flagged as bot activity. After successfully configuring the integration, you can append the Stealth ID parameter '_intellifend'—available on the Integration Details page—to your health check URL. Example: https://yoursite.com/?_intellifend=stealth_id